Adventure
See all
-
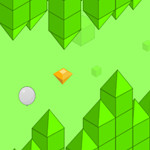
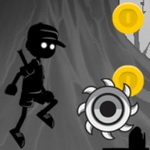
 Number Jump
-
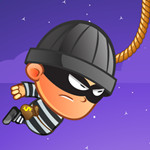
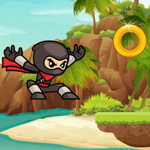
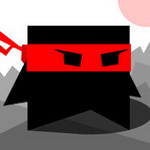
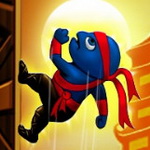
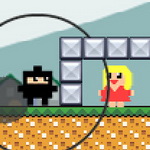 Ninja Man
-
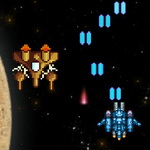
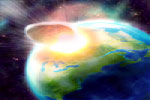
 Asteroid
-
 Spaceship Survival
Shooter -
 Wolly
Wolly
-
 Dungeon Soul
-
 Tap Skier
-
 Jumpy Shark
-
 Planet Captain
-
 Hero In Super
Action Adventure -
 Air War 1941
-
 Jungle War
-
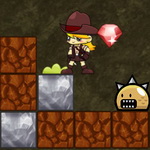
 Dead Land Adventure
-
 Escape From Pyramid
-
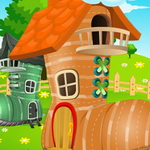
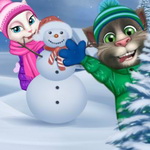
 Frozen Castle Adventure
-
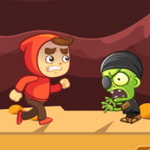
 Ninja Kid vs Zombies
-
 Rock Ninja
-
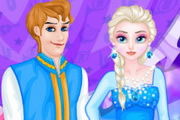
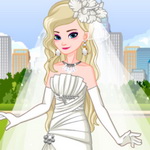
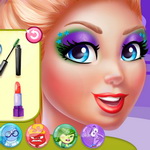
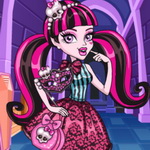
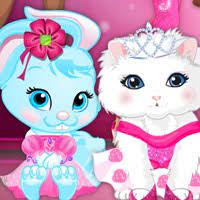
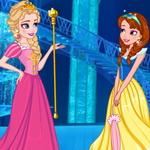
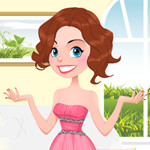
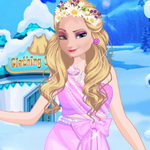
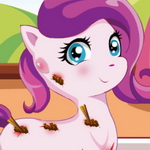
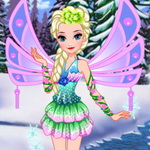
 Elsa And Adventure Dress Up
-
 Heli Defense
-
 Cyborg War
Animals
See all
-
 Duck Shoot
-
 Kids Puzzle
-
 Numeric Puzzle
-
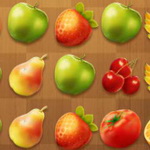
 Fruity Snake
-
 Monster Ball
-
 Block Snake
-
 T-Rex Runner
-
 Swift Cats
-
 Hop Hero
-
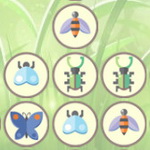 Bugs Match
-
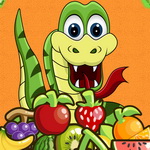 Fruit Snake
-
 Frogger Jump
-
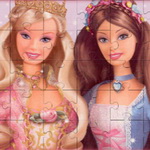
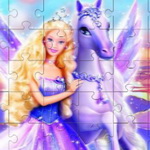
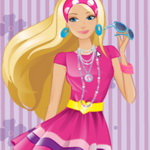
 Barbie And The Unicorn
-
 Fishing Frenzy
-
 Hungry Frog 2
-
 Animal Crush
-
 Lizard Rocket
-
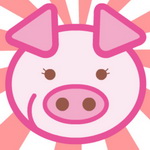
 Pig Run
-
 Tap The Rat
-
 Beauty And Unicorn
Arcade
See all
-
 Glow Hockey Online
-
 Jelly Jump Online
-
 Pop The Lock Online
-
 Clan Attack
-
 Jackpot 777
-
 Basketball Brick Breaking
-
 Turn On
-
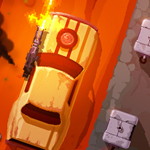
 Super Cars
-
 Fruit Ninja Online
-
 Swing Online
-
 Stick Samurai
-
 Geometry Dash Online
-
 Double Runner
-
 Stick Catcher
-
 Gerdooter
-
 Leaves Boy
-
 Hop Game Online
-
 Fast Numbers 2
-
 Swipe Color
-
 Drone Wars
Avoid
See all
-
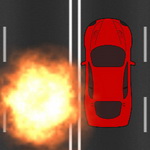
 Cars
Cars
-
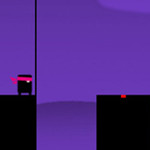
 Square Run
-
 Jumpy Jax
-
 Ninja Run
-
Duck Shoot
-
 Shoot The Aliens
-
Fruity Snake
-
 Catch The Monster
-
 Crazy Jump
-
 Jumpa
Jumpa
-
Block Snake
-
 Adventure Man
-
 Rain Of Arrows
-
 Panic Drop
-
 Mega Runner
-
 Danger Sense
-
T-Rex Runner
-
Swift Cats
-
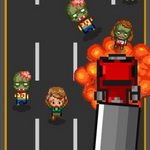
 Zombie Dodge
-
 Snake Blast
Baby
See all
-
 Baby Stunning Fashion
-
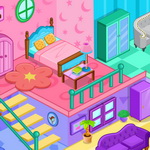
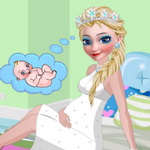
 Pregnant Elsa Baby Room Deco
-
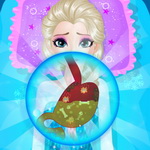
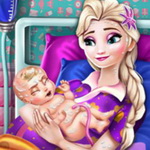
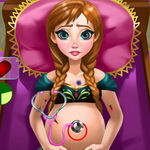
 Elsa Baby Birth Caring
-
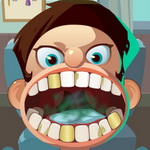
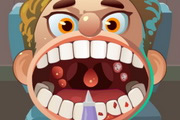 Mia Dentist Pepper
Basketball
See all
-
 E-Basket Ball
-
 Super Puzzle Basket
-
 Crazy Runner
-
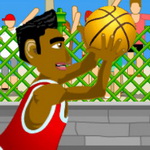
 Basketball
-
Basketball Brick Breaking
-
 Street Shot
-
 Basket Training
-
 Swipe Basketball
-
 Dunk Slam
-
 Treze Basket
-
 Dunk Line
-
 Go Ball
Brain
See all
-
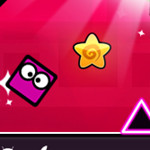
 Puzzle Block
-
 Elementary Arithmetic Game
-
Number Jump
-
 Correct Math
-
 Wayhome
-
 Animals Memory
-
 Microbes
-
 Math Genius
-
 Collector
-
 Mathematic
-
 Tom Jigsaw Puzzle
-
 Ice Cream Memory
-
 Labyrinth
-
 Electrio
-
 Happy Blocks
-
 Light Way
-
 Engineerio
-
 Isometric Puzzle
-
 Car Memory
-
 Ladybug Memory Puzzle
Boys
See all
-
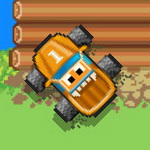
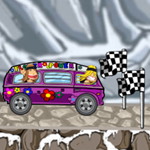
 Karting Racing
-
Cars
-
Square Run
-
Jumpy Jax
-
Puzzle Block
-
Ninja Run
-
Duck Shoot
-
Shoot The Aliens
-
 Tank Defender
-
Kids Puzzle
-
Numeric Puzzle
-
Fruity Snake
-
 Welcome to zombie
-
Catch The Monster
-
Monster Ball
-
 Amazing jump
-
 ZombiesMon Go
-
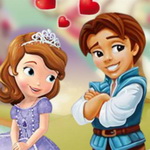
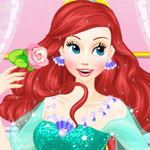
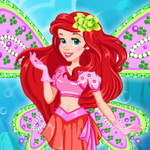
 Ariel And Prince Kissing
-
 Zombie Smash
-
Crazy Jump
Card
See all
-
Car Memory
-
Ladybug Memory Puzzle
-
 Peppa Pig Jigsaw
-
 Hulk Jigsaw
-
 Stone Age
-
 Barbie Matching Card
-
 Barbie Princess Puzzle
-
 Merry Christmas Coloring Book 2
-
 Barbie Princess Puzzle 2
-
 Dinos Memory
-
 Caribbean Stud Poker
-
 Joker Poker
-
 Four Colors
-
 Brain Improving Test
-
 Domino Block
-
 Tripeaks Solitaire
-
 Pyramid Solitaire
-
 High Low
-
 Rummy
Rummy
-
 Twenty48 Solitaire
Cartoon
See all
-
 My Little Pony Winter Fashion 1
-
Pregnant Elsa Baby Room Deco
-
 Ariel Fashion Dress Store
-
 Mommy Elsa Makeover
-
 Rapunzel And Snow White
Winter Dress Up -
 Cinderella Fashion Makeover
-
Elsa Baby Birth Caring
-
 Disney Princess College Dress
-
 Monster High Abbey Dress Up
-
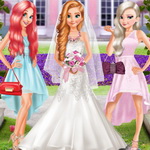
 Elsa And Anna Wedding Party
-
 Frozen Date
-
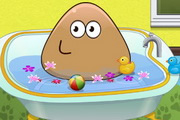 Pou Baby Bathing
-
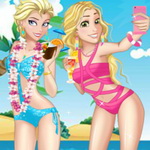
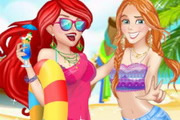 Disney Princess Beach Fashion 1
-
 Disney Super Princess 2
-
 Jack Propose Marriage Elsa
-
 Barbie Skating Style
-
 Disney Princess Fashion Prom
-
 Elsa Dressing Room
-
 Princess Hawaii Style
-
 Ariel And Prince Underwater Kissing
Christmas
See all
-
 Christmas Breaker
-
 Santa Girl Runner
-
 Run Santa Run
-
 Christmas Gift Delivery
-
 Christmas Danger Sense
-
 Young Santa
-
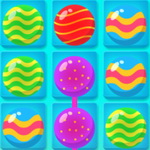
 Christmas Match 3
-
 Christmas Princess Kissing
-
 Peppa Pig Christmas Tree Deco
-
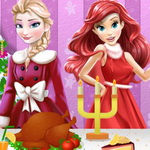 Ariel Christmas Cooking
-
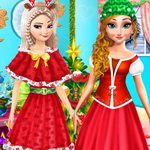
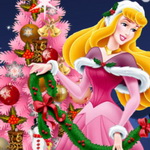 Aurora Christmas Tree
-
 Disney Princesses Christmas Tree
-
Merry Christmas Coloring Book 2
-
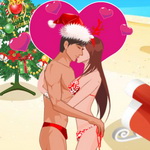 Christmas Day Beach Kiss
-
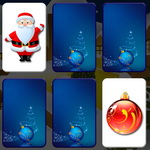 Christmas Memory
-
 Christmas Time
-
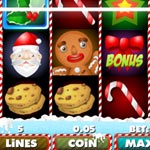 Slot Machine Lucky Christmas
-
 Princesses Christmas Card Decoration
-
 Match Xmas 2017
-
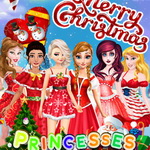
 Princesses Christmas Party
Cognitive
See all
-
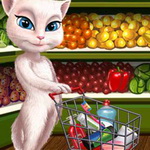 Talking Angela Great Shopping
-
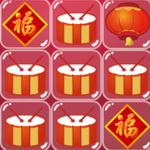 Happy Year Pop
-
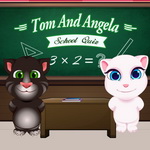 Tom And Angela School Quiz
-
 One Odd Out
-
 4 Images 1 Word
Cute
See all
-
 Garden Match 3
-
 Equestria Girls Graduation Party
-
 Inside Out Disgust Throat Surgery
-
Swift Cats
-
 Candy Rush 2
-
 Candy Rush
-
 Cubies
-
 Sofia The First Kiss
-
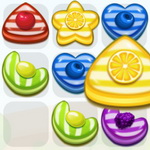
 Sweet Match 3
-
 Candy Fusion
-
 Sofia And Pet
-
 Mommy Princess Go Shopping
-
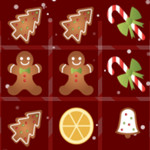
 Gingerman Rescue
-
Fishing Frenzy
-
 Mia Pasture Life
-
 Inside Out Style
-
 Custom Face Score
-
 Cake Rush Slots
-
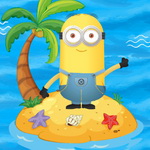 Minions Go Across The Pacific Ocean
-
 Candy Match 3
Decorating
See all
-
Pregnant Elsa Baby Room Deco
-
Frozen Date
-
Jack Propose Marriage Elsa
-
 Elsa Boots Design
-
 Elsa And Jack Wedding Room
-
 Shoe House Decor
-
 Super Car Dressup
-
 Baby Frozen Winter Party
-
 Cars Care Center
-
 Monster High Halloween House
-
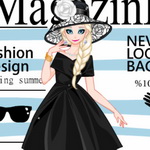 Queen Fashion Magazine Cover
-
 Decorate Your Home
-
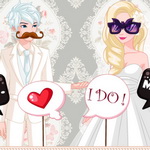 Elsa And Jack Wedding Photo
-
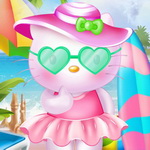 Hello Kitty Beach Fun
-
 Cake Design
-
 Pony Rarity Baby Birth
-
 Super Car Wash
-
 Inside Out Sadness Office Job
-
 Princesses Prom Dress Design
-
Peppa Pig Christmas Tree Deco
Doll
See all
-
Barbie Skating Style
-
Disney Princess Fashion Prom
-
Elsa Dressing Room
-
 Barbie Selfie Make Up
-
Equestria Girls Graduation Party
-
 Draculaura Dress Up
-
 Frozen Sisters Facebook Fashion
-
Inside Out Disgust Throat Surgery
-
 Barbie In A Mermaid Tale
-
Sofia The First Kiss
-
 Disney Princess New Year Prom
-
 Disney Princess Prom Dress Up
-
 Elsa And Anna Paris Shopping
-
 Princess Coachella Style Dress 2
-
 Disney Super Princess 1
-
 Princess Coachella Style Dress 1
-
 Frozen And Rapunzel Fashion Selfie
-
 Barbie Agent Team Dress Up
-
 Barbie Fashion Show Stage
-
 Cleo De Nile Dress Up
Dress Up
See all
-
Baby Stunning Fashion
-
My Little Pony Winter Fashion 1
-
Pregnant Elsa Baby Room Deco
-
Ariel Fashion Dress Store
-
Mommy Elsa Makeover
-
Rapunzel And Snow White
Winter Dress Up -
Cinderella Fashion Makeover
-
Disney Princess College Dress
-
 Pets Fashion Show
-
Elsa And Anna Wedding Party
-
Frozen Date
-
Disney Princess Beach Fashion 1
-
Disney Super Princess 2
-
Jack Propose Marriage Elsa
-
Barbie Skating Style
-
Disney Princess Fashion Prom
-
Elsa Dressing Room
-
Barbie Selfie Make Up
-
Princess Hawaii Style
-
Equestria Girls Graduation Party
Driving
See all
-
Cars
-
 Traffic Driver
-
 Ribbit Racer
-
 Zombie Crashing
-
 Elsa Time Travel
Phreistoric Age -
 Sky Knight
-
 Sky Warrior 2 Invasion
-
 Waste Invaders
-
 Airport Rush
-
 Pou Drives To Go Shopping
-
 Air Wolves
-
 Moto Beach Ride
-
 Furious Road
-
 Rocking Wheels
-
 Jeep Ride
Educational
See all
-
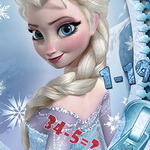 Frozen Math Quiz
-
Numeric Puzzle
-
Number Jump
-
 Rotate
-
Math Genius
-
Custom Face Score
-
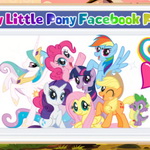 My Little Ponys Facebook
-
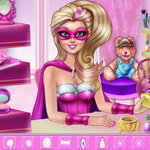 Super Barbie Makeup Room
-
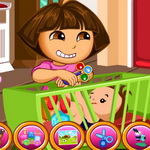 Dora Baby Caring Slacking
-
Decorate Your Home
-
Ladybug Memory Puzzle
-
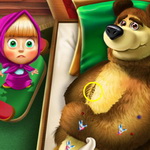 Masha And The Bear Surgery
-
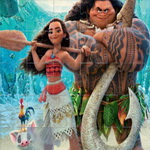 Moana Jigsaw
-
 Happy Farm
-
 Frozens Store
-
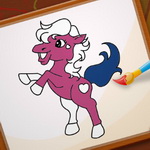 Pony Coloring Book 2
-
 Pony Coloring Book 1
-
 Pony Coloring Book 3
-
 Pony Coloring Book 4
-
Peppa Pig Jigsaw
Endless Runner
See all
-
Square Run
-
Jumpy Jax
-
Ninja Run
-
 Mufy
Mufy
-
Adventure Man
-
Mega Runner
-
T-Rex Runner
-
 Circle Runner
-
 Apachiri Run
-
 Cube Ninja
-
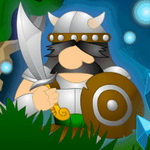
 Stone Aged
-
 Jungle Run
-
 Christmas adventure
-
 Gravity
-
 Gravity Tap!
-
 Legend Of The Samurai
-
 Ninja Wall Runner
-
 Shadow Boy Adventures
-
 Swift Ninja
-
 Ninja Run 2
Family
See all
-
Frozen Math Quiz
-
 Rapunzels Garden
-
Sofia And Pet
-
 Swimming Accident First Aid
-
 Extreme Surfing
-
 Ice Cream Fanatic
-
Mia Pasture Life
-
Custom Face Score
-
Tom Jigsaw Puzzle
-
Shoe House Decor
-
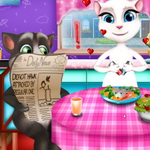 Tom And Angela Dinner Fun
-
My Little Ponys Facebook
-
 Frozen Baby Bedtime Caring
-
 Mia Doll Machine
-
 Dont Let It Run Away
-
 Click Car
-
Super Barbie Makeup Room
-
 Monster Rush
-
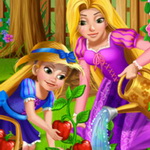
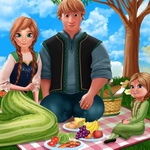 Anna Picnic Day
-
Decorate Your Home
Football
See all
-
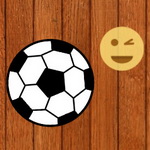 Emoji Ball
-
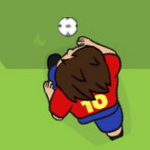 Dribble Kings
-
 Footgolf Evolution
-
 Foosball
-
 Flat Crossbar Challenge
-
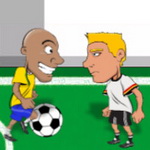
 Football Tricks
-
 American Football Kicks
-
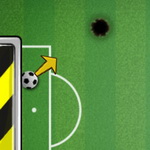
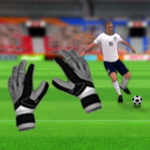 Goalkeeper Challenge
-
 Funny Soccer
-
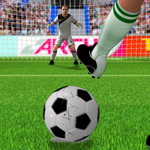 Penalty Kicks
-
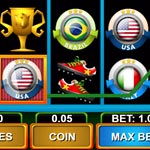 Slot Machine Ultimate Soccer
-
 Kickups
-
 Freekick Training
-
 Monster Truck Soccer
-
 Footstar
-
 Penalty Challenge
Fun
See all
-
 Super Barbie Dancer Team
-
 Crazy Match 3
-
Frozen Math Quiz
-
Swift Cats
-
 Pin It
-
Bugs Match
-
 Treasure ninja
-
Cubies
-
 Monsters Match 3
-
Emoji Ball
-
 Traffic Controller
-
 Cat Noir Rescue Ladybug
-
Candy Fusion
-
 Fast numbers
-
Microbes
-
 Hawaii Beach Kissing
-
 Elsa Prom Dress Up
-
Extreme Surfing
-
Fishing Frenzy
-
Ice Cream Fanatic
Halloween
See all
-
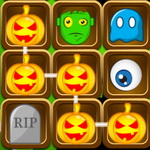
 Halloween Match 3
-
 Halloween Memory
-
 Halloween Devil Blast
-
 Halloween Bubble Shooter
-
 Flap Cat Halloween
-
 Dark Night
-
 Halloween TicTacToe
-
 Frozen Halloween
-
 Jet Halloween
-
 Halloween Match 3 2
-
Monster High Halloween House
-
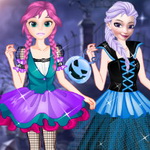 Anna And Elsa First Halloween
-
 Disney College Halloween Ball
-
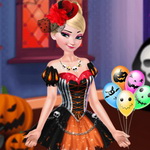 Princess Elsa Halloween Night
-
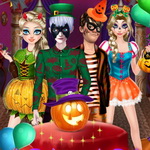
 Princess Halloween Party
-
 Halloween Candy Vs Vampire Style
-
 Baby Elsa Halloween Surgery
-
 Halloween Story
Highscore
See all
-
Cars
-
Square Run
-
Jumpy Jax
-
Puzzle Block
-
Ninja Run
-
Garden Match 3
-
Duck Shoot
-
Crazy Match 3
-
Elementary Arithmetic Game
-
Mufy
-
Fruity Snake
-
Catch The Monster
-
Monster Ball
-
Amazing jump
-
ZombiesMon Go
-
Zombie Smash
-
Crazy Jump
-
Block Snake
-
Rain Of Arrows
-
Panic Drop
Job
See all
-
Ariel Fashion Dress Store
-
Mia Dentist Pepper
Kids
See all
-
Karting Racing
-
Cars
-
Square Run
-
Jumpy Jax
-
Puzzle Block
-
Ninja Run
-
Garden Match 3
-
Duck Shoot
-
Shoot The Aliens
-
Crazy Match 3
-
Elementary Arithmetic Game
-
Tank Defender
-
Barbie Skating Style
-
Disney Princess Fashion Prom
-
Elsa Dressing Room
-
Frozen Math Quiz
-
Barbie Selfie Make Up
-
Kids Puzzle
-
Mufy
-
Numeric Puzzle
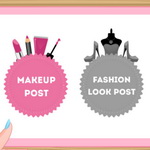
Make Up
See all
-
Cinderella Fashion Makeover
-
Elsa And Anna Wedding Party
-
Barbie Selfie Make Up
-
 Frozen Elsas Facebook Blogger
-
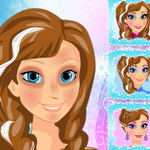
 Princess Anna Real Makeover
-
Barbie Fashion Show Stage
-
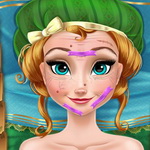
 Anna Makeup School
-
Inside Out Style
-
 Countryside Friends
-
 Frozen Disney Princess Costume
-
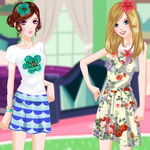
 Barbie And Popstar Dress Up
-
 Frozen And Ariel Wedding
-
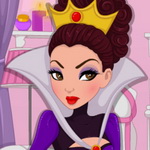 Villains Real Makeover
-
 Elsa Mommy Fashion
-
 Princess Anna Party Makeover
-
 Ariel And Elsa Career Dress Up
-
 Princess Modern Job Dress Up
-
 Anna Wedding Dress
-
 Elsa Fairy
-
 Girl Dress Up
Makeover
See all
-
Mommy Elsa Makeover
-
Cinderella Fashion Makeover
-
Monster High Abbey Dress Up
-
Elsa And Anna Wedding Party
-
Disney Princess Fashion Prom
-
Barbie Selfie Make Up
-
 Frozen Anna Braids Design
-
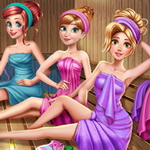 Princess Sauna Room
-
Disney Princess New Year Prom
-
Frozen Elsas Facebook Blogger
-
Princess Coachella Style Dress 2
-
Disney Super Princess 1
-
Princess Coachella Style Dress 1
-
Sofia And Pet
-
 Disney Princess Beach Fashion 2
-
Princess Anna Real Makeover
-
 Ariel Wedding Hairstyle And Dress
-
 Modern Princess
-
Cleo De Nile Dress Up
-
 Frozen Hair Salon
Matching
See all
-
Puzzle Block
-
Garden Match 3
-
Crazy Match 3
-
Kids Puzzle
-
Candy Rush 2
-
Bugs Match
-
Halloween Match 3
-
Treasure ninja
-
Candy Rush
-
Monsters Match 3
-
 Color Blitz
-
Sweet Match 3
-
Candy Fusion
-
 Match Rush
-
 Fruit Match
-
Animal Crush
-
 Colour Cell
-
Halloween Memory
-
Halloween Devil Blast
-
 Pop Pop
Monster high
See all
-
Monster High Abbey Dress Up
Physics
See all
-
Swift Cats
-
E-Basket Ball
-
 Shoot Me
-
 Cannon Shot
-
Ninja Man
-
Microbes
-
 Roll Orange
-
 Angry Fish
-
 Soap Ball Craze
-
 Magical Castle Coin Dozer
-
 Magic Pencil
-
Electrio
-
Basketball
-
Light Way
-
Engineerio
-
 Piggy Bank Adventure
-
Basketball Brick Breaking
-
 Piggy Roll
-
 Angry Zombies
-
Street Shot
Platformer
See all
-
Mufy
-
Amazing jump
-
Jumpa
-
Adventure Man
-
Number Jump
-
Rain Of Arrows
-
Panic Drop
-
Mega Runner
-
Shoot Me
-
Apachiri Run
-
 The Cave Of Terror
-
Cube Ninja
-
Ninja Man
-
Stone Aged
-
Fast numbers
-
Jungle Run
-
Christmas adventure
-
Gingerman Rescue
-
 Mad Boy Adventures
-
 Color Balls
Pou
See all
-
Pou Baby Bathing
Princess
See all
-
Pregnant Elsa Baby Room Deco
-
Ariel Fashion Dress Store
-
Mommy Elsa Makeover
-
Rapunzel And Snow White
Winter Dress Up -
Cinderella Fashion Makeover
-
Elsa Baby Birth Caring
-
Super Barbie Dancer Team
-
Disney Princess College Dress
-
Elsa And Anna Wedding Party
-
Frozen Date
-
Disney Princess Beach Fashion 1
-
Disney Super Princess 2
-
Jack Propose Marriage Elsa
-
Barbie Skating Style
-
Disney Princess Fashion Prom
-
Elsa Dressing Room
-
Frozen Math Quiz
-
Barbie Selfie Make Up
-
Princess Hawaii Style
-
Ariel And Prince Kissing
Puzzle
See all
-
Super Barbie Dancer Team
-
Garden Match 3
-
Frozen Math Quiz
-
Kids Puzzle
-
Numeric Puzzle
-
Correct Math
-
Shoot Me
-
Candy Rush 2
-
Wayhome
-
Cannon Shot
-
Treasure ninja
-
Candy Rush
-
Monsters Match 3
-
Color Blitz
-
Rapunzels Garden
-
Sweet Match 3
-
Cat Noir Rescue Ladybug
-
Candy Fusion
-
Match Rush
-
Extreme Surfing
Shooting
See all
-
Pin It
-
 Talking Tom Playing Snowballs
-
Ninja Kid vs Zombies
Simulation
See all
-
Inside Out Disgust Throat Surgery
-
 Elsa Abdominal Surgery
-
Rapunzels Garden
-
Elsa And Jack Wedding Room
-
Swimming Accident First Aid
-
 Frozen Elsa Ear Piercing
-
Princess Anna Real Makeover
-
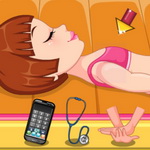
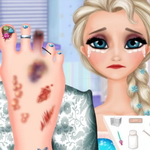 Elsa Foot Injured
-
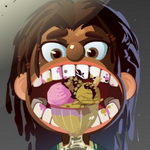 Mia Dentist Ice Cream
-
 Elsa Clothing Store
-
Extreme Surfing
-
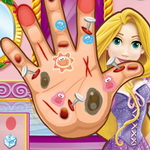 Rapunzel Hand Doctor
-
Ice Cream Fanatic
-
Mia Pasture Life
-
 Pretty Pony Day Care
-
 Pregnant Elsa Baby Birth
-
 Repair Ice Cream Truck
-
Cake Rush Slots
-
 Mia Dentist Cake
-
Shoe House Decor
Skill
See all
-
Cars
-
Square Run
-
Jumpy Jax
-
Ninja Run
-
Duck Shoot
-
Shoot The Aliens
-
Mufy
-
Fruity Snake
-
Welcome to zombie
-
Catch The Monster
-
Monster Ball
-
Amazing jump
-
ZombiesMon Go
-
Zombie Smash
-
Crazy Jump
-
Jumpa
-
Block Snake
-
Adventure Man
-
Number Jump
-
Rain Of Arrows
Surgery
See all
-
Inside Out Disgust Throat Surgery
-
Elsa Abdominal Surgery
-
Swimming Accident First Aid
-
Elsa Foot Injured
-
Mia Dentist Ice Cream
-
Rapunzel Hand Doctor
-
Pregnant Elsa Baby Birth
-
Mia Dentist Cake
-
 Pregnant Elsa Twins Birth
-
 Doctor Helper
-
 Foot Surgery
-
Masha And The Bear Surgery
-
 Ironman Doctor
-
 Annas Baby Twins Birth
-
 Cinderella Pony Caring
-
 Pregnant Anna Surgery
-
 Mia Dentist Burger
-
 Zootopia Judy Doctor
-
 Zootopia Nick Doctor
-
 My Little Pony Doctor
Timing
See all
-
Crazy Match 3
-
Elementary Arithmetic Game
-
Frozen Math Quiz
-
Catch The Monster
-
Ariel And Prince Underwater Kissing
-
Ariel And Prince Kissing
-
Correct Math
-
 Magic Emeralds
-
Candy Rush 2
-
Bugs Match
-
 Cards Memory
-
 Bones Slasher
-
Treasure ninja
-
Candy Rush
-
Sofia The First Kiss
-
Monsters Match 3
-
Cat Noir Rescue Ladybug
-
Match Rush
-
Fruit Match
-
Fishing Frenzy
Winx
See all
-
 Rapunzel Princess Winx Style
-
 Cinderella Princess Winx Style
-
 Beauty Princess Winx Style
-
 Jasmine Princess Winx Style
-
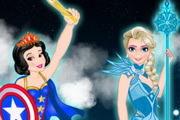
 Snow White Princess Winx Style
-
 Elsa Princess Winx Style
-
 Anna Princess Winx Style
-
 Ariel Princess Winx Style
Zombie
See all
-
Welcome to zombie
-
ZombiesMon Go
-
Zombie Smash
-
Zombie Dodge
-
 Scary Run
-
Zombie Crashing
-
 Run Into Death
-
 Extermination Zombies
-
Dead Land Adventure
-
Angry Zombies
-
Ninja Kid vs Zombies
-
 Brust Limit
-
 Zombie Shooter
-
 Death Alley
-
 Zombie Run Saga
-
 Grave Drive
-
 Dead City
-
 Defense Math
-
 Zombie Buster
-
 Mummy Candies
Copyright 2020 Gamez Space
All rights reserved
خدمة فضاء الألعاب هي اكبر تجمع للالعاب الالكترونيه في المملكة العربيه السعودية على جوالك قيمة الاشتراك 12 ريال/إسبوعياً للالغاء في STC ارسل U 3 الى 801470 (شامل قيمة الضريبة المضافة) * تم تحصيل مبلغ الضريبة لعملاء مسبق الدفع عند عملية شحن الرصيد